


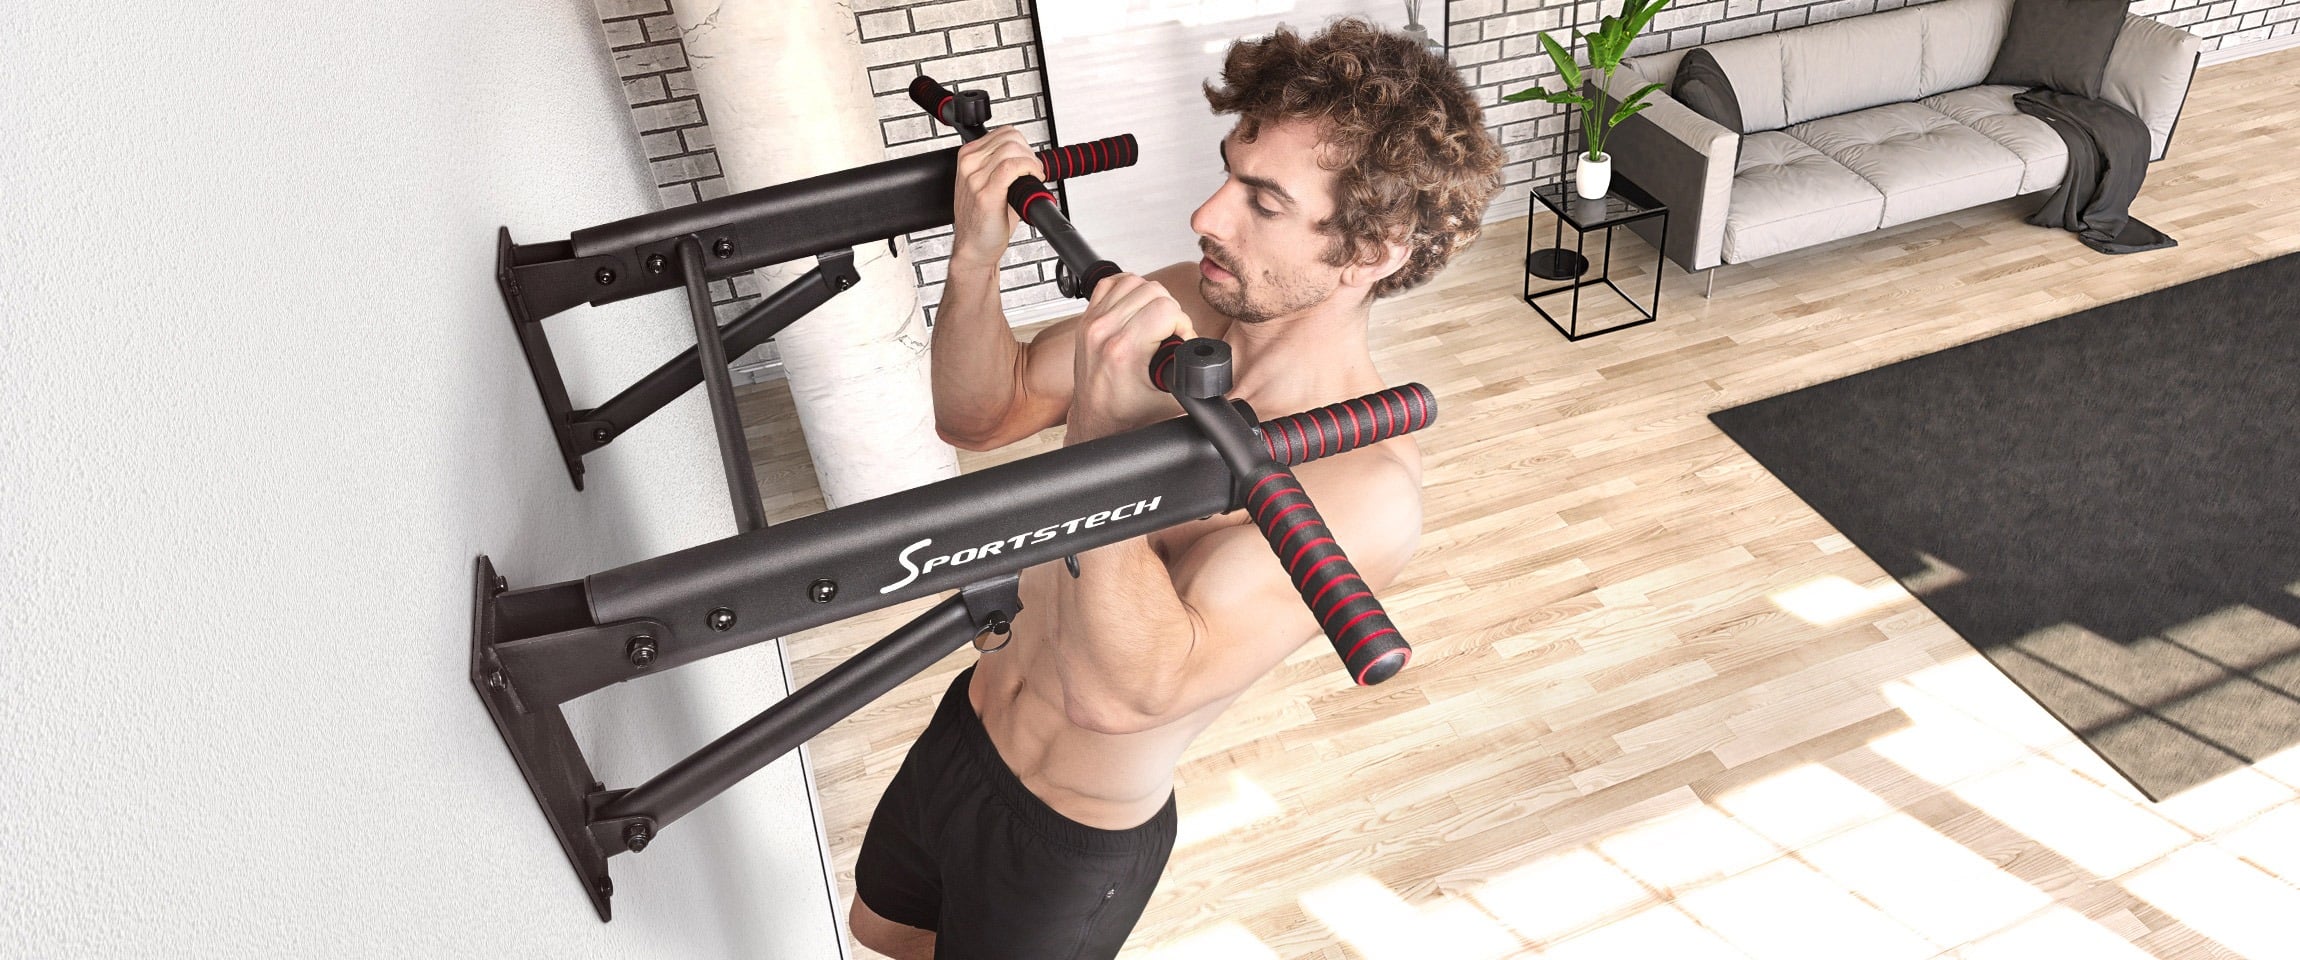
Imagine building a wide back, strong arms, and a stable core with a single movement, all from home. Some exercises target individual muscles, while others transform your entire upper body. Pull-ups belong to the latter category.
They represent true functional strength. Body tension. Control. The feeling of confidently moving your own body weight. No machine training can replicate this interplay of back, arms, grip strength, and core as naturally as a clean repetition on a pull-up bar.
Whether you are currently aiming for your first pull-up or can already perform several clean repetitions – this article shows you how to systematically increase your level with precise technique and a clearly structured training plan. You will learn which muscles pull-ups really engage, what matters for technically clean execution, and which three crucial levers accelerate your progress.
Why Pull-Ups Are Your Game-Changer
Pull-ups are among the most popular bodyweight exercises in home fitness because they provide a complete upper-body workout with minimal equipment. Analyses by J Sci Med Sport show that up to 80% of joint activity in a pull-up takes place in the shoulder joint and around 50% in the shoulder girdle. This makes the exercise extremely effective for the back, shoulders, and grip strength, but also technically demanding.
The AOK also emphasizes the benefits for posture and the prevention of back pain, because it strengthens primarily the upper back muscles and core stability. Studies by Sec. Exercise Physiology show that just 6–8 weeks of structured resistance training significantly improve muscular endurance and pulling strength. Exercises that train vertical pulling movements, such as pull-ups or lat pulldown variations, lead to measurable performance increases in particular. This means for beginners: With a clear training plan and progressive overload, noticeable progress in pull-ups is realistic within just a few weeks.
Muscles and Joints – What and How Strongly Pull-Ups Train
Pull-ups are a classic multi-joint exercise in which several joints and muscle groups work together, creating a powerful, functional pulling chain from the shoulder girdle down to the core.
Which muscles work mainly?
Primarily engaged:
- Latissimus dorsi (broad back muscle) – the main engine of the pulling movement
- Biceps brachii – responsible for elbow flexion
- Middle and lower trapezius (trapezius muscle) – stabilize the shoulder blade
Secondarily involved:
- Infraspinatus (part of the rotator cuff on the back of the shoulder) and other muscles of the rotator cuff
- Rhomboids (rhomboid muscle) – bring the shoulder blades together
- Rear shoulder
- Forearms (grip strength)
- Core muscles
EMG analyses show a particularly high activation of the latissimus in pull-ups (up to about 117–130% of normalized maximum activation) as well as a strong involvement of the biceps (78–96%). The infraspinatus, trapezius, and pectoral muscles also show relevant activation values between about 44 and 79%. This makes it clear that pull-ups do not train an isolated muscle area, but rather a complete network of pulling and stabilization muscles.
Why are the joints so crucial?
Since pull-ups are performed over the shoulder and elbow joints, a clean transfer of force is only possible if the shoulder blade is guided stably. The shoulder thus acts as the biomechanical center of the movement. Without active control of the scapula, the load on the shoulder joint increases unnecessarily.
Pull-Up or Chin-Up – What Is the Difference?
The difference lies primarily in the grip and thus also in the training focus. In the chin-up (underhand grip), the biceps and chest muscles work more strongly, which is why this variation is slightly easier for many beginners. The pull feels more natural, and the arm involvement is greater than in the pull-up. The pull-up (overhand grip) shifts the focus more strongly to the latissimus dorsi and the lower trapezius, creating a more intense stimulus for the back. This is technically more demanding, but particularly effective for building back musculature.
In short:
- Chin-Ups = more arm focus, often the better entry point.
- Pull-Ups = more back focus, ideal for maximum pulling strength.
Those who intelligently design their pull-up progression combine both variations specifically depending on their training goal. In addition, you can specifically build or pre-fatigue these muscle chains with dumbbell exercises such as one-arm rows, pullovers, or bicep curls.

How to Achieve Your First Pull-Up
Training Frequency & Breaks
- 2–3 sessions per week
- At least 48 hours break between pull sessions
- Breaks between sets:
- Pull-up variations: 2–3 minutes
- Rows / Curls: 90–120 seconds
- Core / Hangs: 60–90 seconds
Important: Start every session with a warm-up (10 minutes of shoulder and scapula activation, light pulling exercises, mobilization).
| Phase | Timeframe | Exercises | Volume | Goal |
|---|---|---|---|---|
| Phase 1 – Fundamentals |
3–4 weeks | Active Hanging | 2×30–45 sec. | Build shoulder stability & grip strength |
| Scap Pulls | 3×8–12 | Develop shoulder blade control | ||
| Dumbbell Rows | 3×10–12 | Strengthen pulling strength in the lat & upper back | ||
| Hollow Holds | 2–3 sets | Improve body tension | ||
| Phase 2 – Pull-Up-Related Progression (A/B Rotation) |
4–6 weeks | Session A: Band-Assisted Pull-Ups | 4×5–8 | Solidify clean repetitions & movement patterns |
| Dumbbell Rows | 3×10–12 | Back building & pulling strength | ||
| Hollow Holds | 2–3 sets | Stabilize body tension | ||
| Session B: Negative Pull-Ups | 4–5×3 (5 sec. eccentric) | Maximum strength in the downward phase | ||
| Top Hold (Chin over Bar) | 3×10–20 sec. | Stabilize the upper range of motion | ||
| Face Pulls | 2–3×12–20 | Shoulder & tendon health | ||
| Phase 3 – First Free Pull-Up |
From Week 8+ | Test: Free Pull-Up | Single repetition | Clean technique without momentum |
| Training Sets | 5×1 or 3×3 | Gradually increase the number of repetitions |
Progression Criteria - When to Move to the Next Phase?
You do not have to strictly adhere to the weekly indications. Every body develops differently, and therefore you should go at your own pace and only move to the next phase when strength and control are truly there. Progress is not measured by the calendar, but by clean execution.
You Are Ready for Phase 2 If:
- you can stably hold the active hang for 2×45 seconds
- and complete 3×10–12 controlled Scap Pulls without momentum
You Move Toward Phase 3 If:
- you can perform band pull-ups 3×8 with a light band cleanly
- and master negative pull-ups 3×5 with a 5-second controlled downward phase
Step-by-Step Technique: The Perfect Pull-Up
1. Assume the Starting Position
Grip the pull-up bar shoulder-width or slightly wider with an overhand grip (palms facing outward), thumbs around the bar for extra hold. Hang completely extended with a straight body. Feet slightly crossed, glutes engaged, no arched lower back. Exhale deeply and build full body tension (activate the core).
2. Shoulder Activation (Scap Pull) – The Key to Healthy Shoulders
Before you pull: Actively pull the shoulder blades down (depression) and slightly together backward (retraction), as if you want to bend the pull-up bar in the middle. The shoulders remain low, away from the ears. This relieves the sensitive area under the shoulder blade – i.e., the space where tendons and burs move – and thus reduces the risk of irritation or overuse. At the same time, the lower trapezius is activated early, which makes the pulling movement more powerful and stable.
Tip: Practice this in isolation as "Scap Pulls" (only move the shoulders, arms extended).
3. Pulling Phase: Pull Up Controlled
Pull the elbows down close to the body, guide the chest toward the bar, and do not take momentum from the hips or legs. Exhale, keep the gaze neutral (do not throw the head back).
Goal: Chin just over the bar, ideally the upper chest touches it with perfect form. Hold the contraction at the top for 1 second.
4. Downward Movement (Eccentric): Slow and Controlled
Lower yourself 3–5 seconds controlled, so that full stretch is achieved with the arms almost extended, but do not hang. Inhale. This builds maximum strength and minimizes injury risk.
Avoid Common Mistakes
- Too wide grip: Increases the impingement risk – so stay shoulder-width.
- Kipping/Momentum: Ignores technique and unnecessarily stresses the shoulders.
- Arched lower back or head forward: Loses core stability – always keep the core active!
Conclusion
Pull-ups are a real game-changer for functional upper-body strength. They combine back strength, arm strength, grip strength, and core tension in just a single movement.
With clean technique, clear pull-up progression, and a structured training plan, you can achieve significant progress within just a few weeks, starting from the first negative pull to clean sets. If you want to learn pull-ups at home, you do not need a gym. You need structure, discipline, and the right setup.
Start today and use our guide, because your first pull-up is closer than you think!










Teilen:
Valentine’s Day Partner Workout: Get Fit Together at Home
Strength Training for Women: Myths & Facts